Night
Photo Guide
Night
Photo Guide
Photo Guide

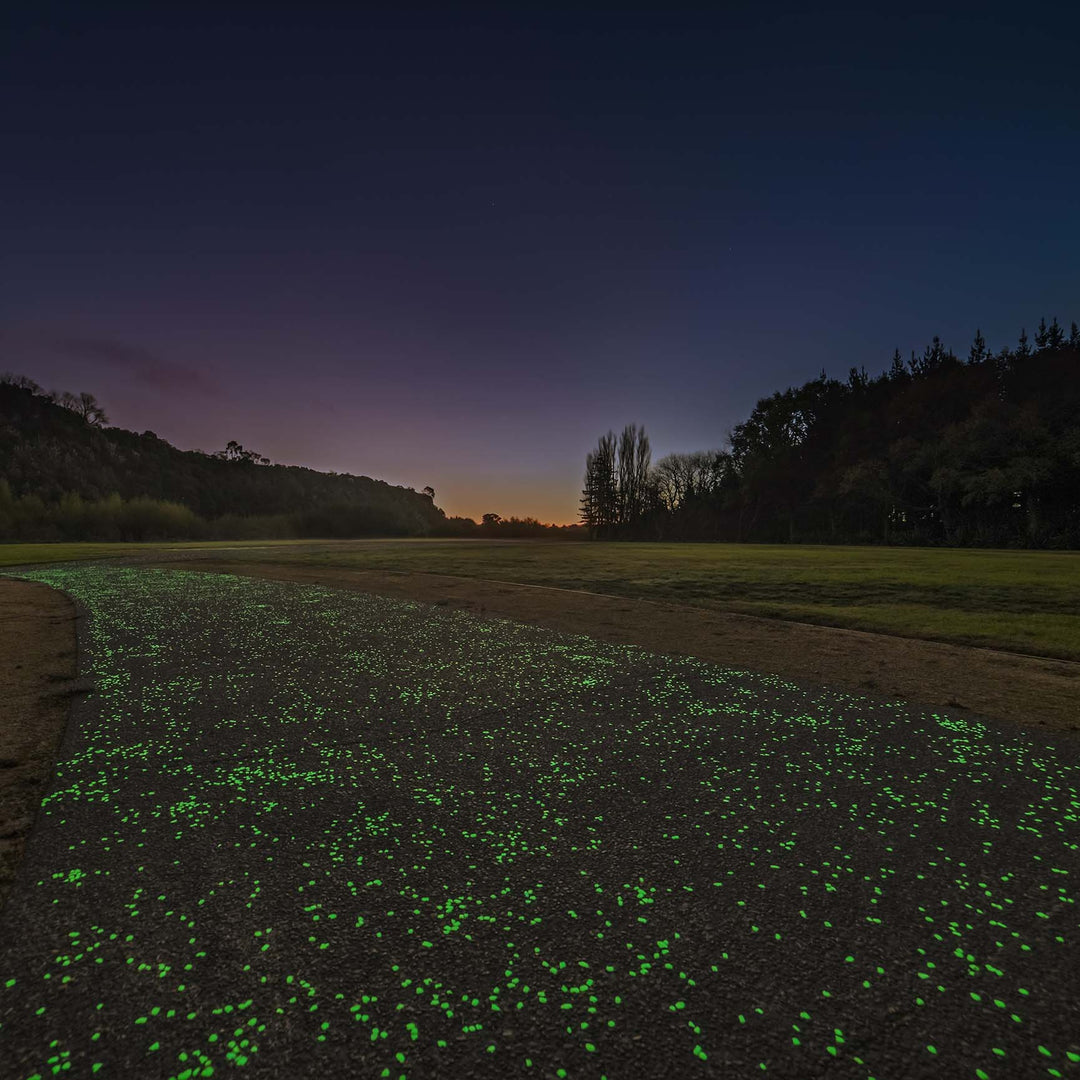
We’ve put together this short, step-by-step instruction guide to assist AGT™ glow aggregate users capture their glowing concrete projects at night.
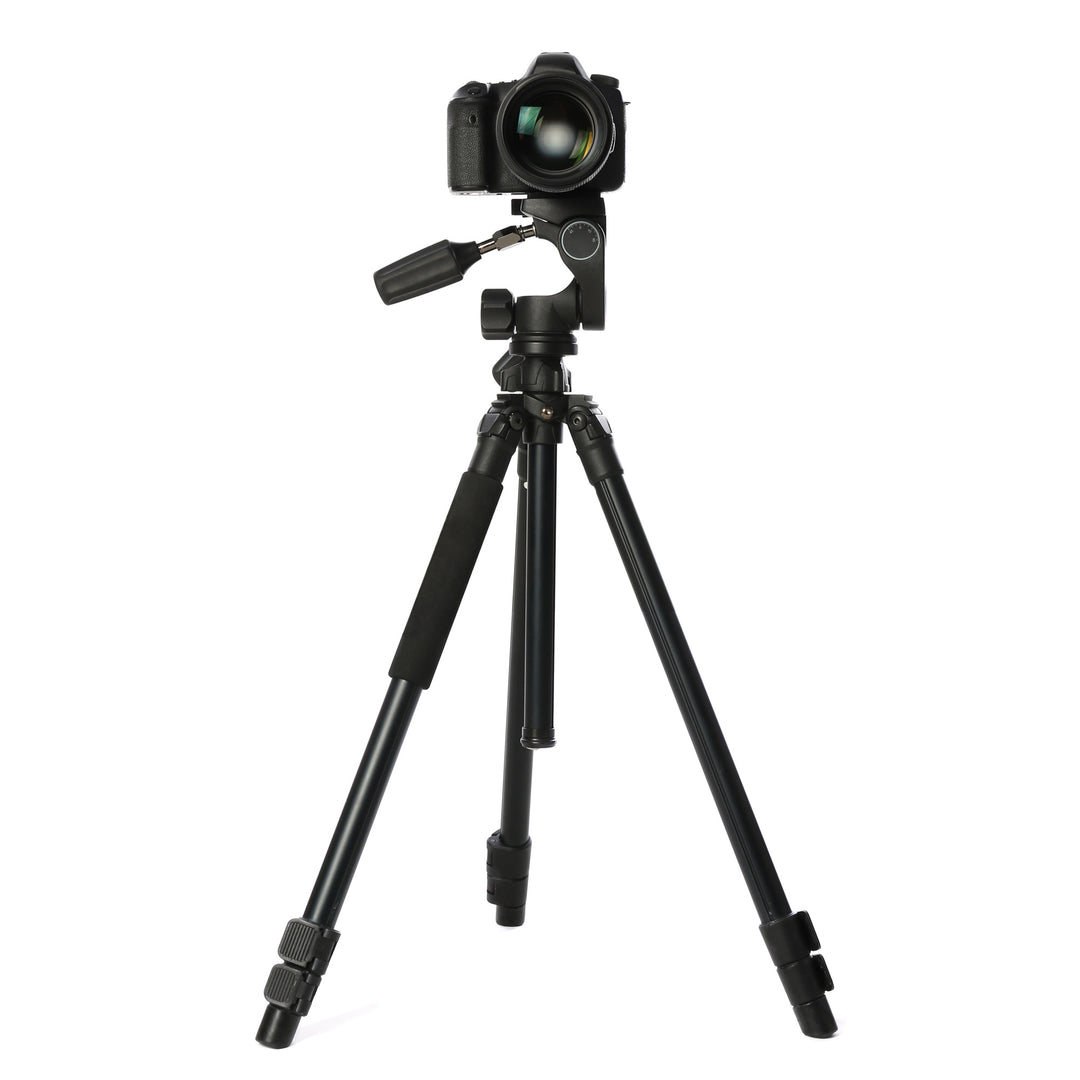
Begin by placing your camera on a tripod and taking a few daytime shots of your AGT™ glow stones energized surface at different angles. In order to capture the same angles at night, make sure to mark the position of your camera tripod’s legs with pieces of tape or chalk. This will assist you in taking accurate night shots. Once you have taken a few daytime shots, detach your camera from the tripod. Why the need for a tripod? The tripod keeps your camera perfectly still which is essential for clear, in-focus, night photos.
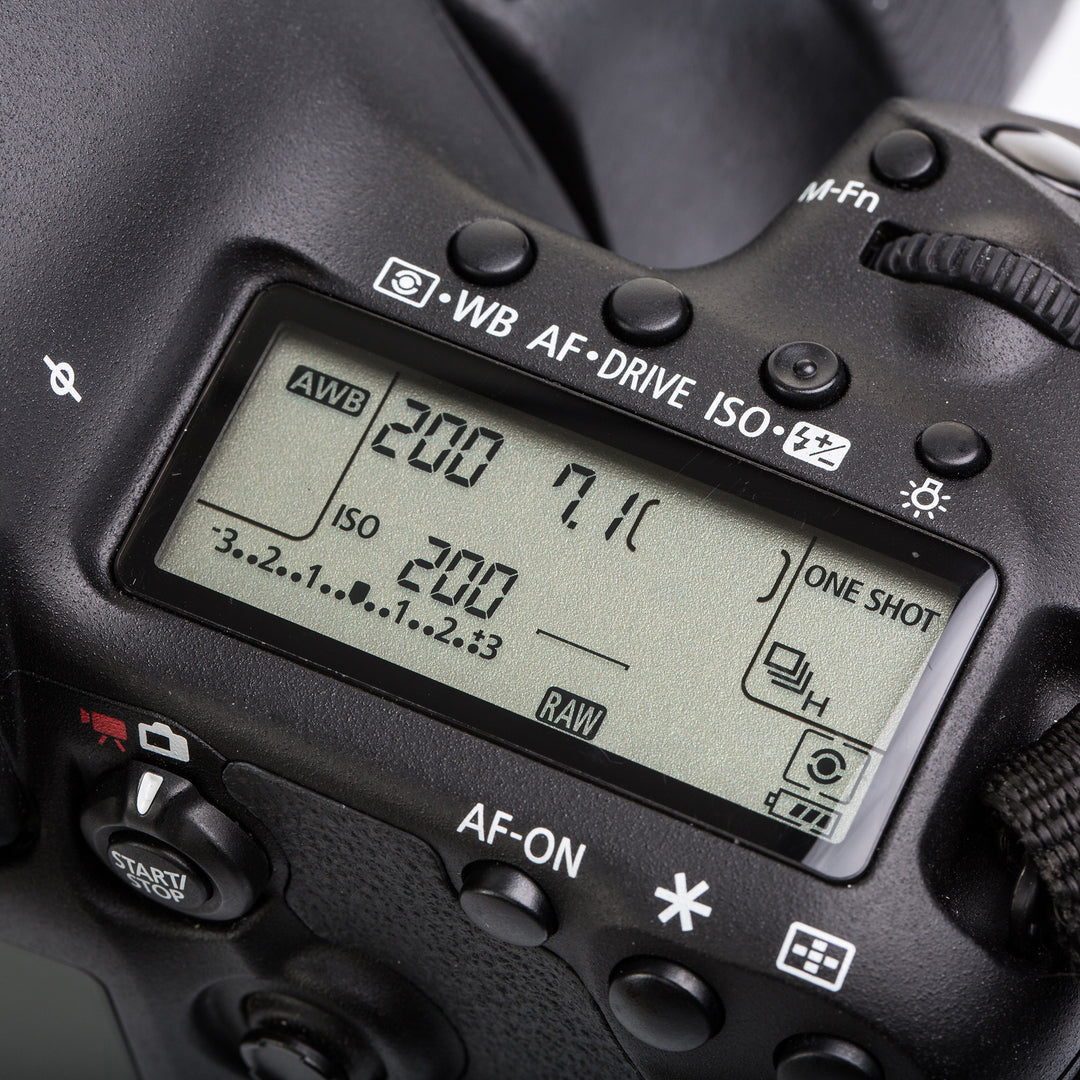
The key to getting the best night photo is adjusting your camera for a longer shutter speed. Because all cameras are different, we’ll keep it simple. Most compact cameras have a number of mode settings including a mode for taking photos in low light or no light environments.
Mode Setting Names on Different Cameras:
Return to your AGT™ glow stones project at night. Place your camera back on the tripod. Make sure that your Flash is turned OFF and select the appropriate mode based on your camera type.
Now you’re shooting like a real Glow Pro!!!