Exposed Aggregate
Pattern Design
Pattern Design
To ensure your site is ready for pouring, begin by removing any debris, rocks, or vegetation present in the area. Proceed to install the necessary formwork, ensuring it is level, straight, and securely anchored to the ground. Finally, proceed with pouring the concrete into the prepared formwork.
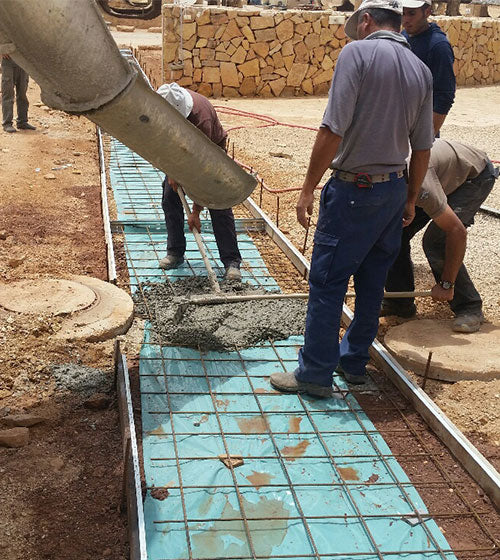
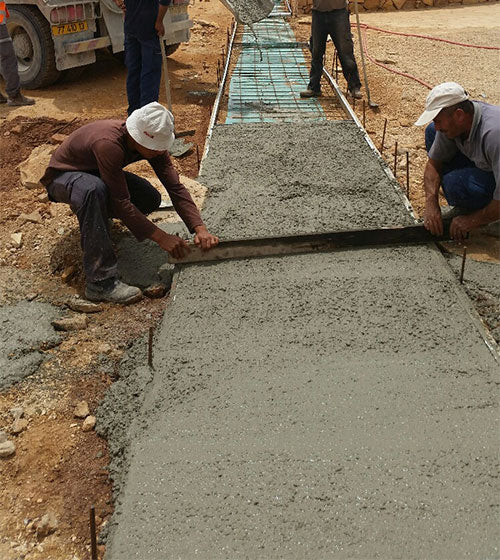
For achieving optimal levelness and smoothness, proceed to screed the concrete. This can be accomplished by utilizing a wooden 2x4 plank, acquiring a hollow aluminum plank, or employing magnesium straightedges.
Create a custom template using 1/8"-1/4" plywood or any other light, water-resistant material. Build a light frame around the template so it is easier to apply and move around.
Seed the AGT™ Glow Stones on to the cut-out areas of the template. Brush any glow stones that land on the template frame back in to the cut-out areas. This will reduce the chance of having glow stones falling on to unwanted areas.
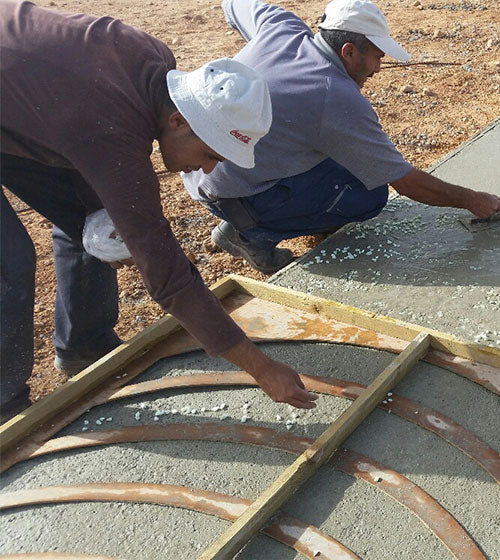
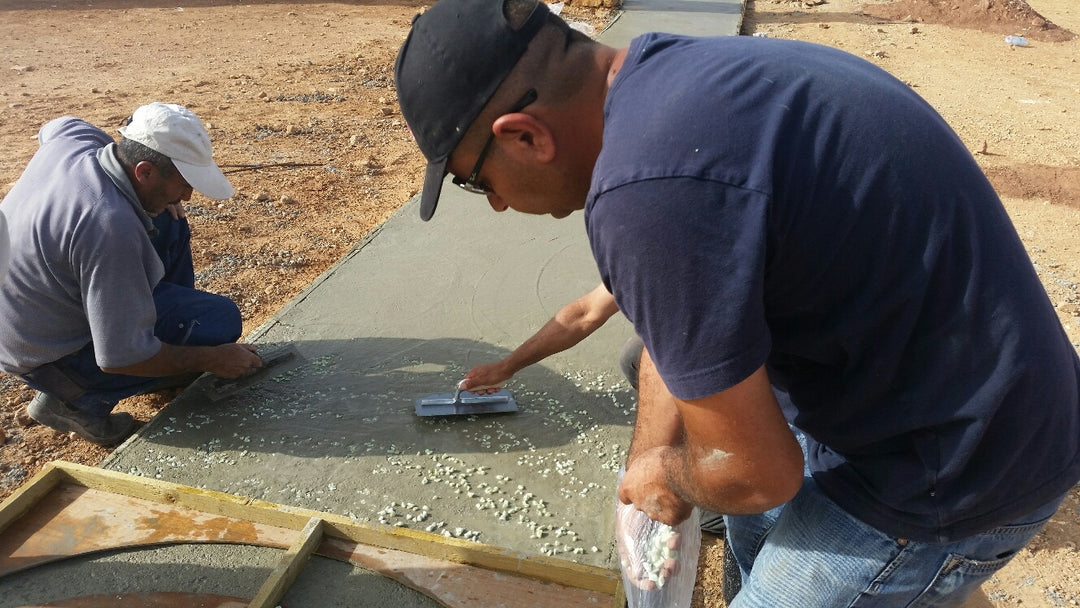
After you have seeded the aggregates into their desired pattern, gently trowel them into the surface until they are slightly covered by the concrete.
Please adhere to the guidelines provided by the Concrete Retarder manufacturer to ensure that the correct retarder is used and that the retarder is left on the slab long enough to reach the desired effect.
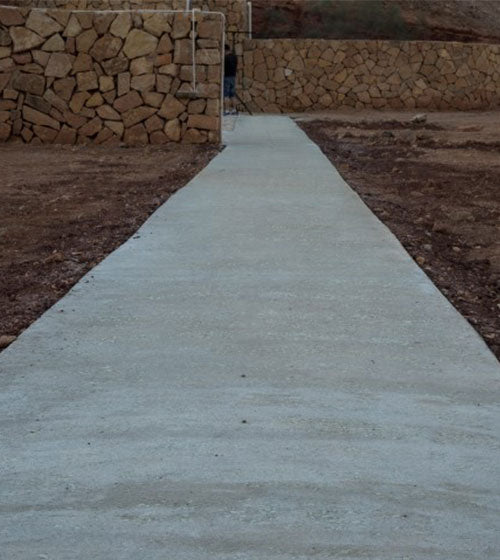
Either pressure wash or hose & broom the concrete surface according to the Retarder manufacturer's directions. Lastly, apply a concrete sealer of your choice.
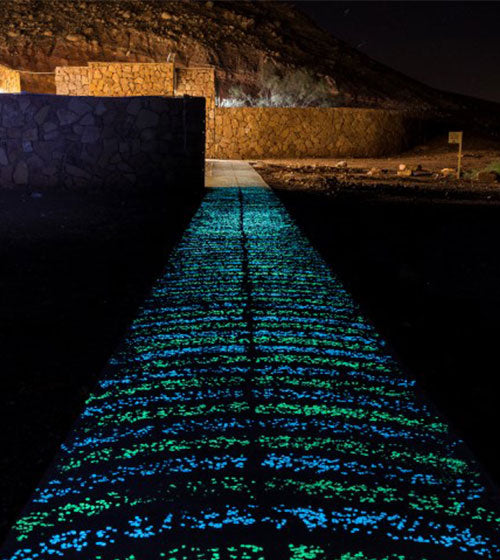
Now sit back and enjoy your new glowing masterpiece! This project was completed in Israel by the Israel Nature and Parks Authority using AGT™ 1/2" Ultra Grade Glow Stones.
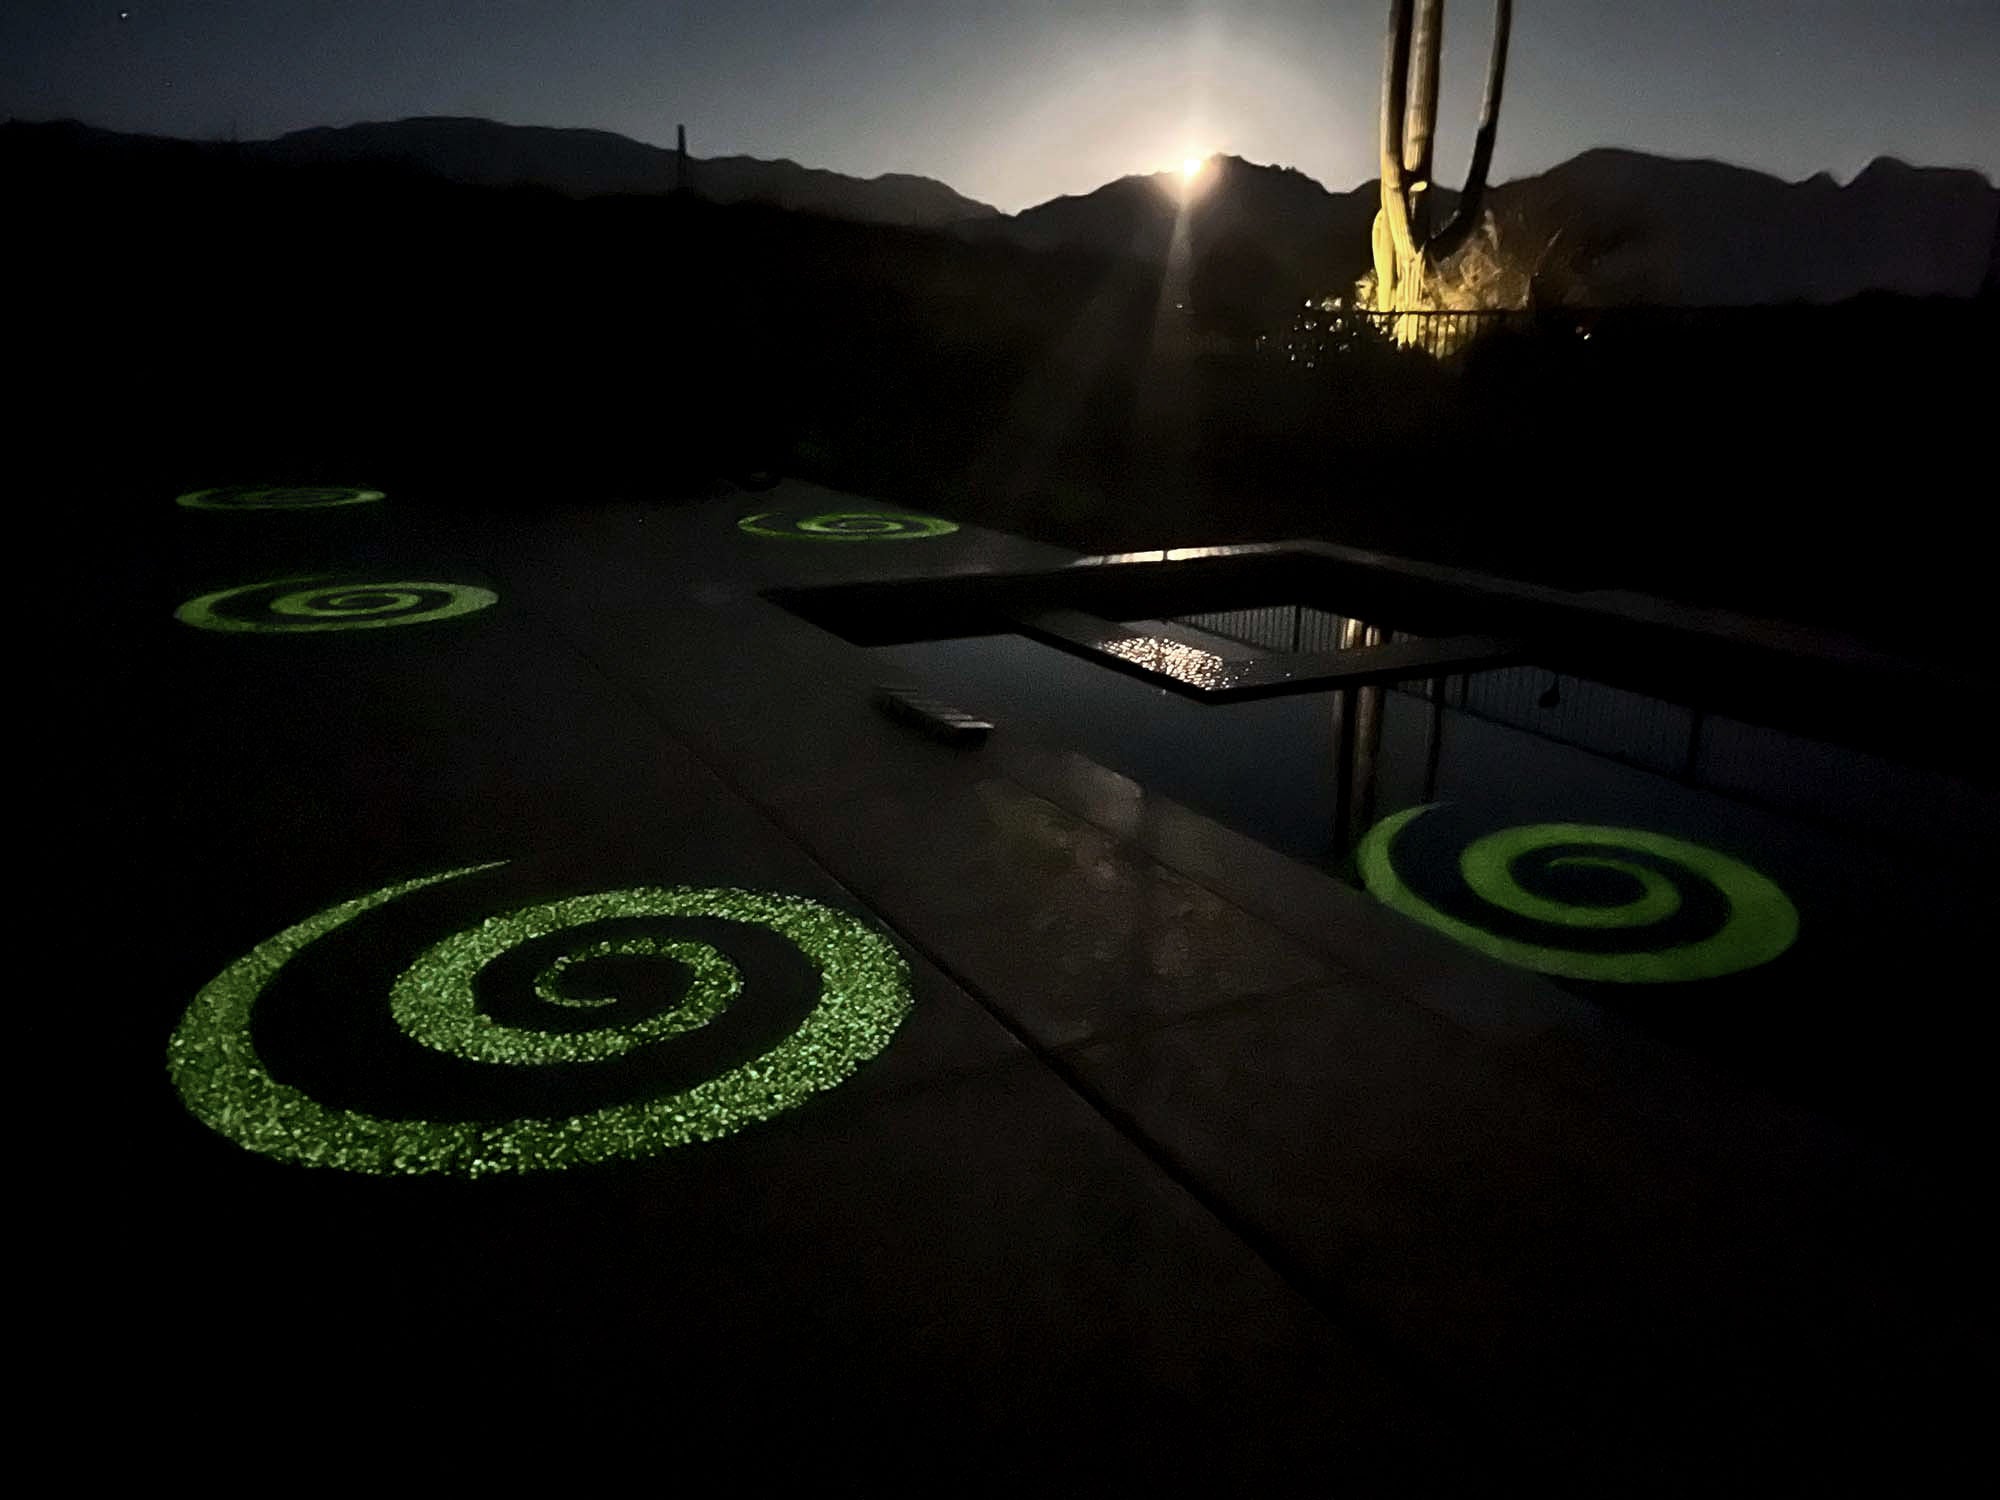
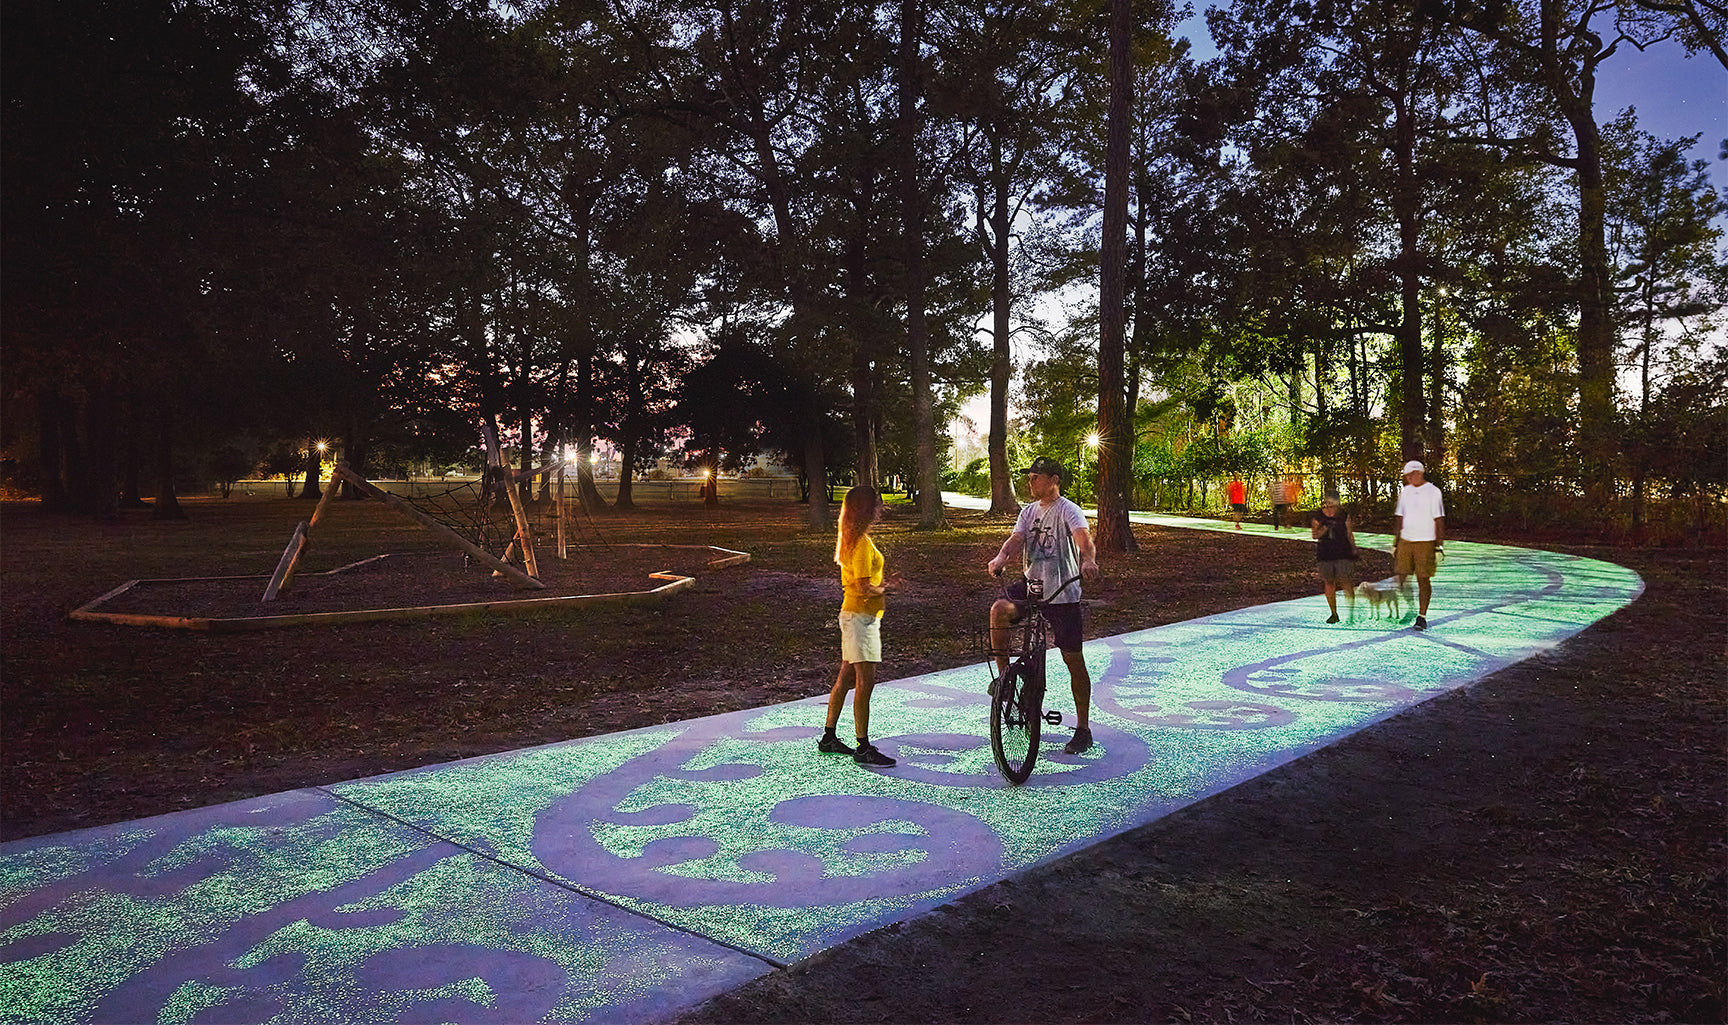
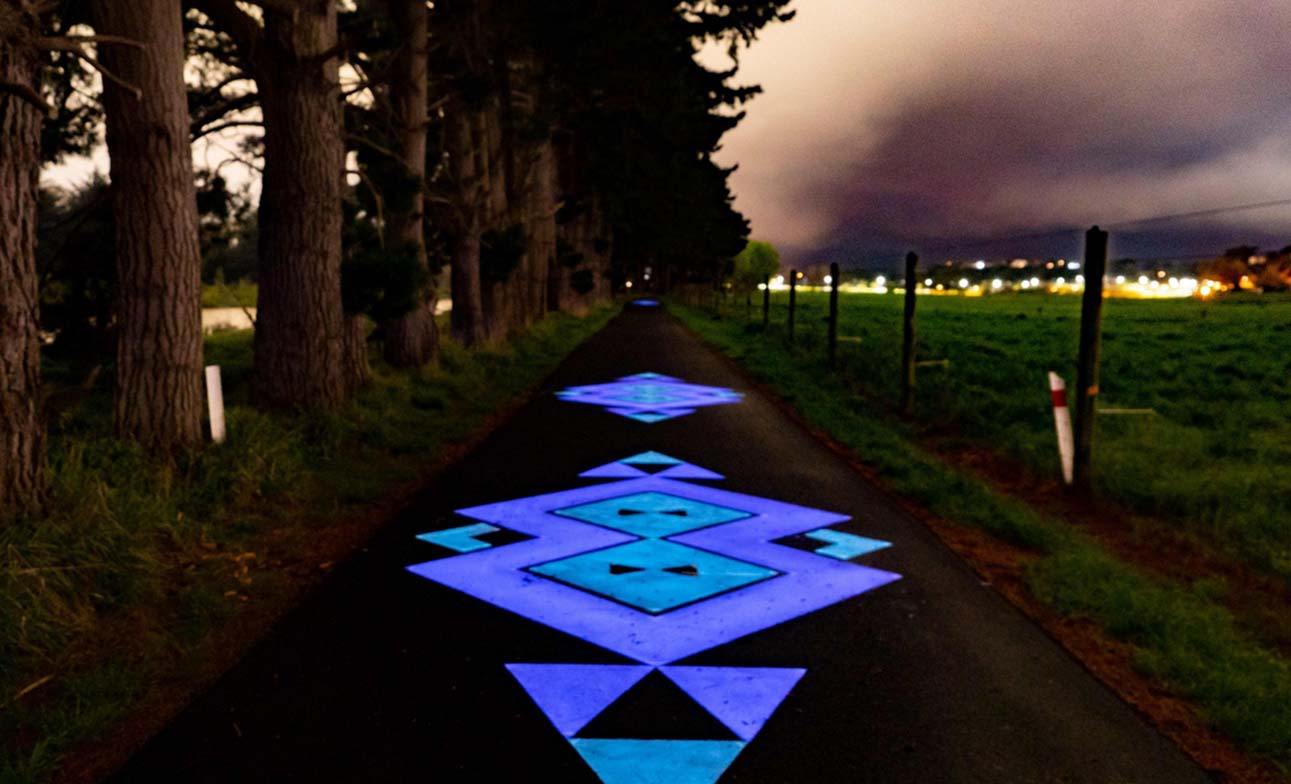
Here's a small sample of the designs our most creative customers have come up with using AGT™ Glow Stones. View more of our project posts here.
