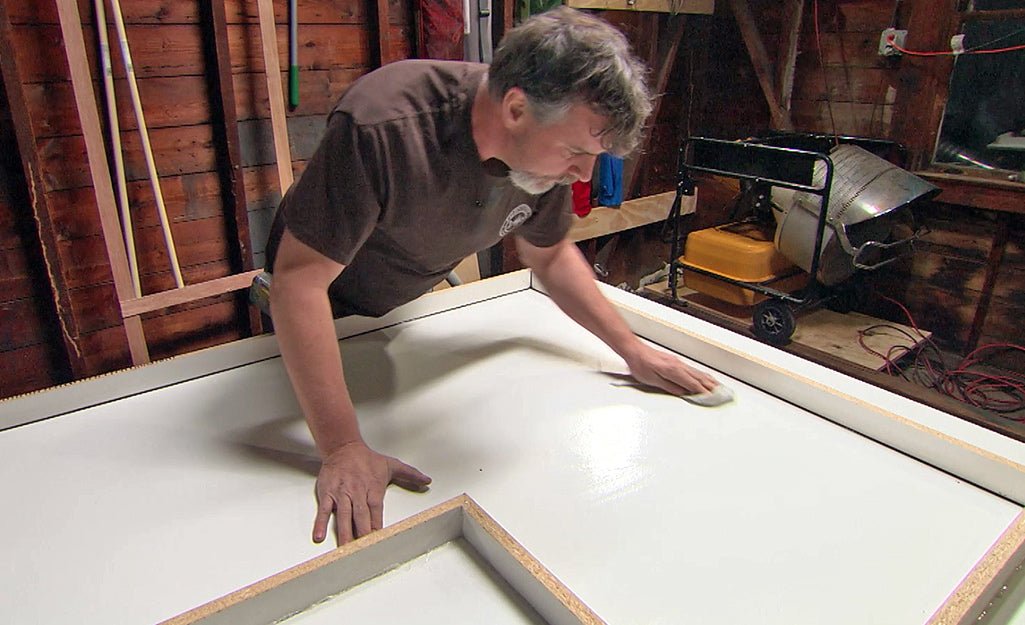
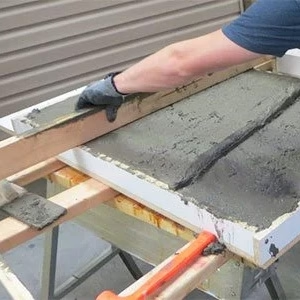
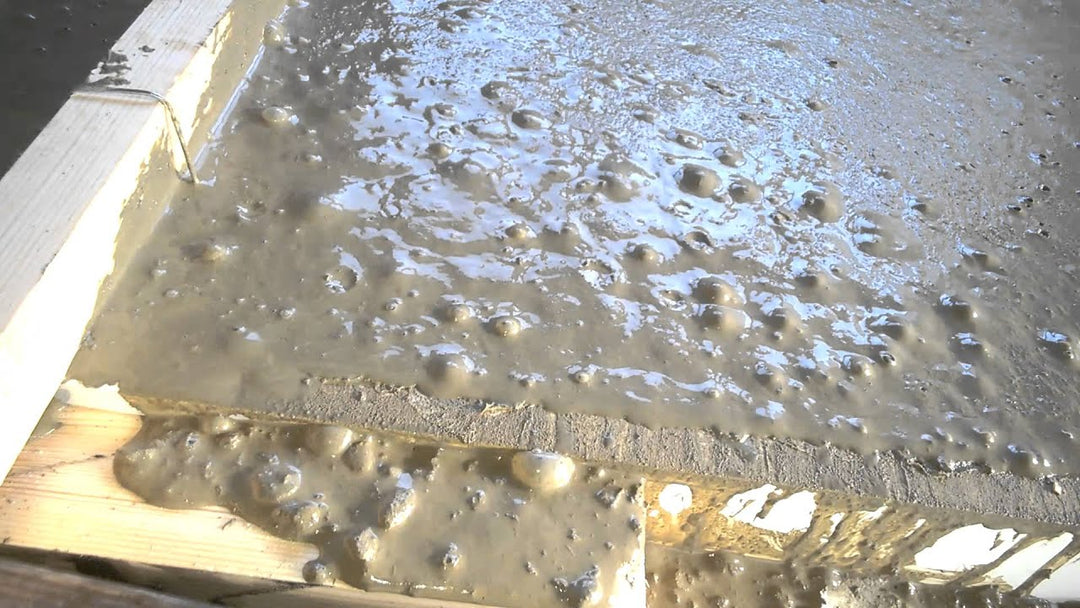
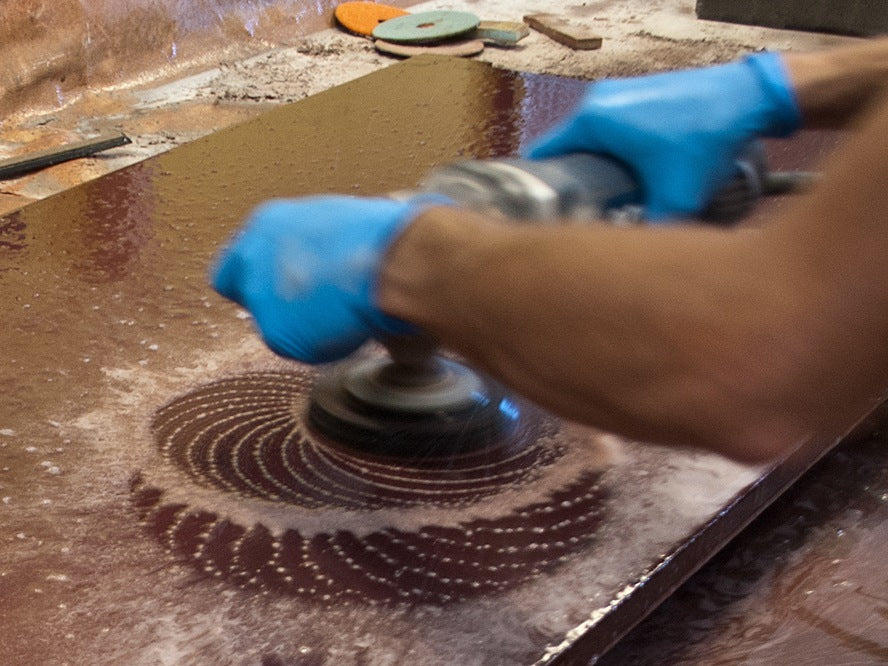
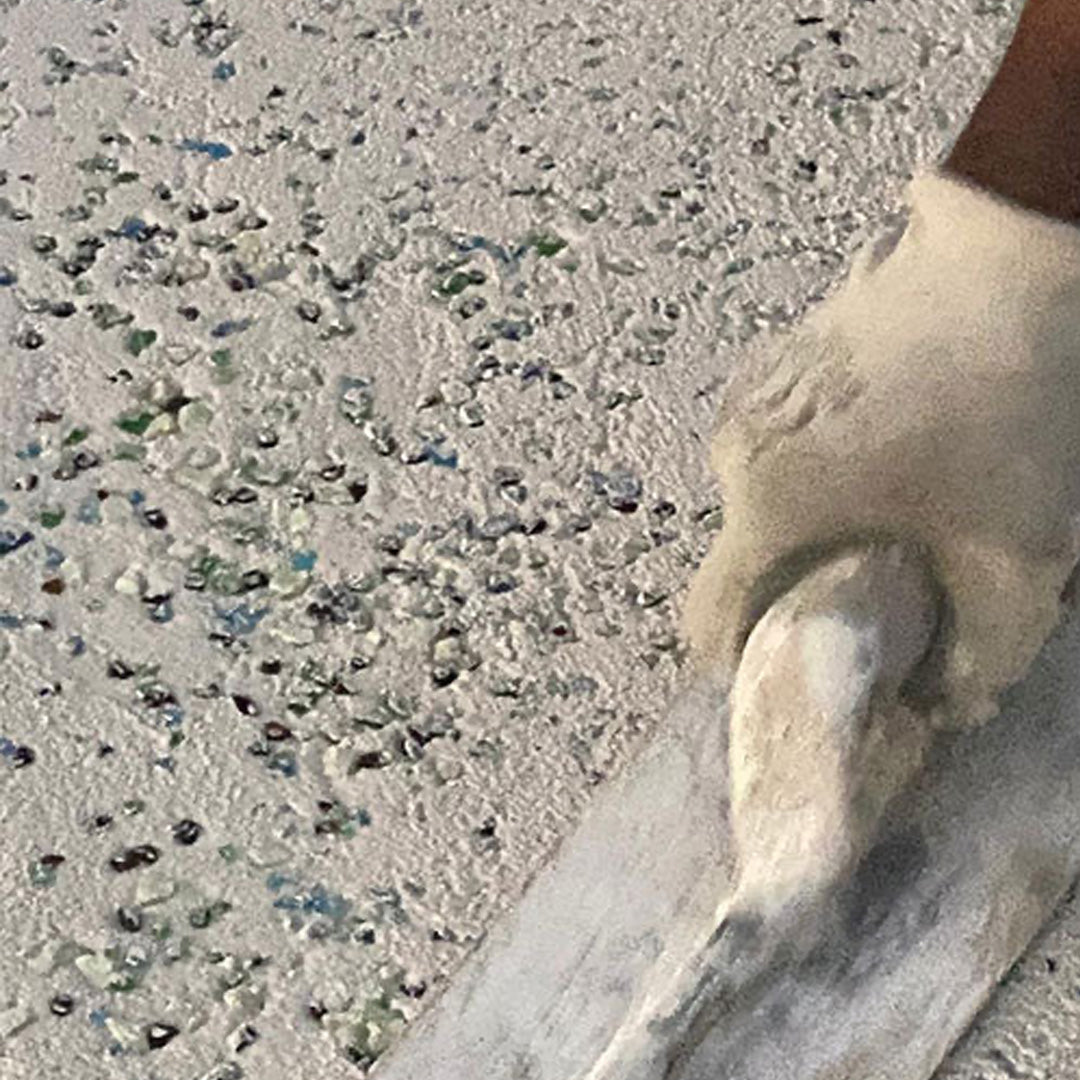
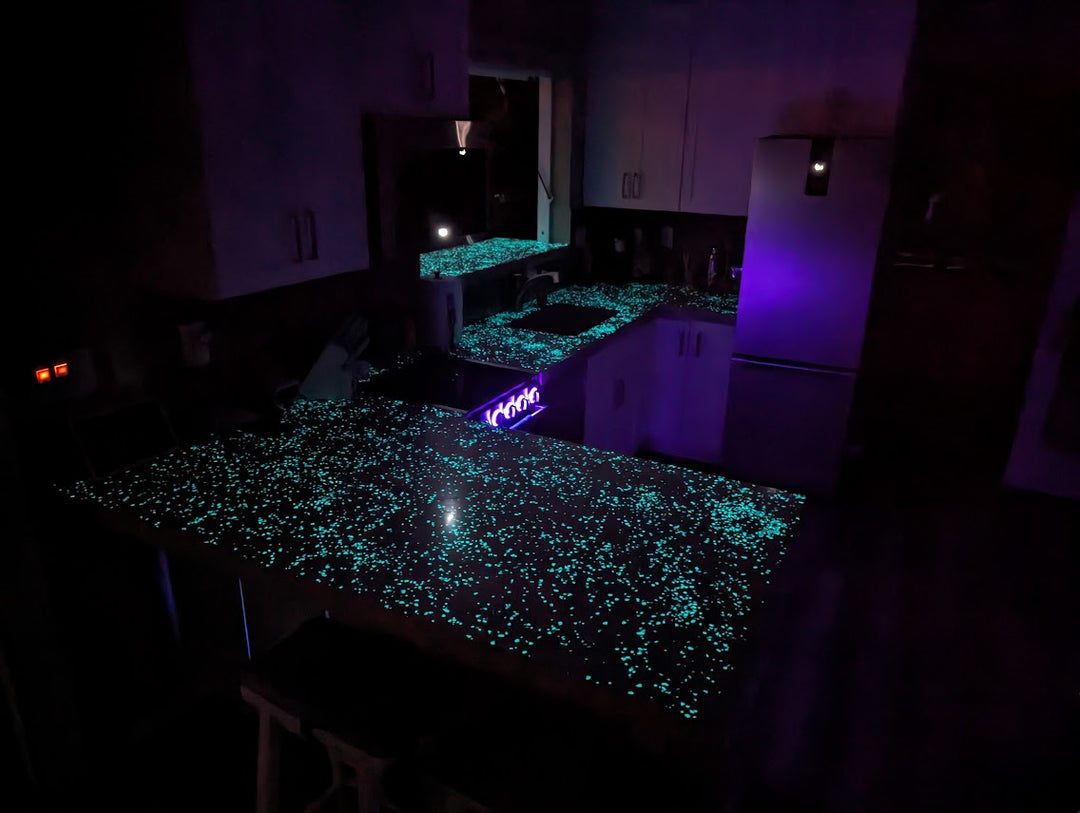
Installation Guide

Glowing Concrete Table or Countertop

STEP 1

Prepare the Concrete Mix

  1. Mix the Concrete: Follow the manufacturer's instructions to mix the concrete.
  2. Pour the Concrete: Pour the mixed concrete into your prepared mold. Ensure the mold is on a level surface.
STEP 2

Level the Concrete

  1. Use a Wood Screed: Level the surface of the poured concrete by dragging a wood screed (a straight piece of wood) across the top. This helps distribute the concrete evenly and remove excess material.
STEP 3

Remove Air Bubbles

  1. Tap the Mold: Use a rubber hammer to gently tap the sides of the mold. This process helps to remove air bubbles trapped within the concrete, ensuring a smoother finish.
STEP 4

Apply AGT™ Glow Stones

  1. Wait for Initial Curing: Allow the concrete to begin curing until it is no longer soupy but still workable.
  2. Hand Apply Glow Stones: Evenly sprinkle the AGT™ Glow Stones onto the top surface of the concrete.
  3. Trowel the Surface: Use a trowel to press the glow stones into the concrete surface, ensuring they are embedded and level with the concrete.
STEP 5

Wet Polish the Concrete

  1. Initial Polish with 100 Grit Pad: Once the concrete has fully cured, begin wet polishing with a 100 grit diamond pad. This will expose the glow stones.
  2. Intermediate Polish with 200 Grit Pad: Move to a 200 grit pad to further smooth the surface.
  3. Final Polish with 400 Grit Pad: Finish with a 400 grit pad for a smooth and polished appearance.
STEP 6

Complete the Project

  1. Final Inspection: Check the surface for any imperfections and ensure the glow stones are evenly exposed.
  2. Clean the Surface: Clean off any residue from the polishing process.